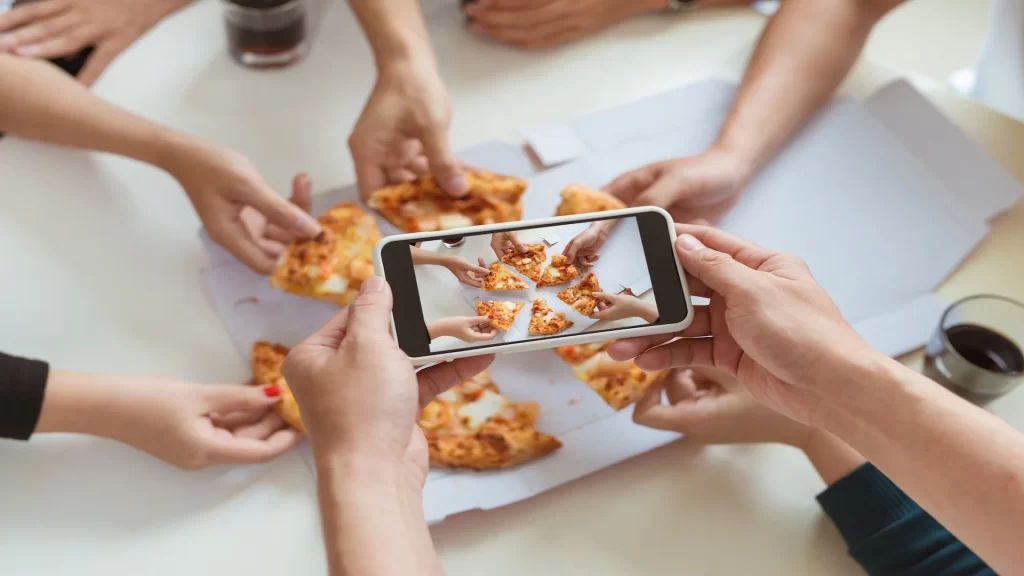
Creating stunning food photography requires a delicate blend of technical skill, artistic vision, and meticulous attention to detail. Whether you’re capturing dishes for restaurants, cookbooks, or social media, understanding the essential elements of food photography transforms ordinary plates into mouth-watering masterpieces. From lighting and composition to styling and timing, every aspect contributes to images that make viewers want to reach through the screen and take a bite. Let’s explore how to capture the perfect balance of aesthetics and appetite appeal in every shot.
Composition guidelines
Arrange food elements thoughtfully using the rule of thirds. Create depth by layering ingredients and props at different heights. Leave negative space to draw attention to the main dish. Consider the flow of the image and how viewers’ eyes will move across the frame. Experiment with various angles; overhead shots work well for flat dishes, while 45-degree angles often highlight texture and depth.
Color and contrast
Select props and backgrounds that complement rather than compete with the food. Use color theory to create appealing combinations. Dark backgrounds make bright foods pop, while light backgrounds work well with darker subjects. Include contrasting elements to add visual interest but maintain focus on the main dish.
Styling techniques
Fresh ingredients make all the difference. Prep multiple portions of the same dish to ensure peak freshness during the shoot. Use food styling tools to make minor adjustments. Spray water droplets on fresh produce for a dewy look. Position garnishes strategically to add color and dimension. Consider height and movement in the composition.
Timing and temperature
Hot foods should be photographed immediately to capture steam and natural appeal. Cold dishes require swift work before condensation forms. Plan the shoot sequence based on each dish’s optimal serving temperature. Keep backup ingredients ready for quick replacements if items start to wilt or melt.
Equipment selection
Choose lenses appropriate for food photography. Macro lenses capture intricate details, while standard lenses offer versatility. Tripods ensure sharp images, especially in low light. Keep cleaning supplies handy for quick touch-ups between shots.
Background choices
Select surfaces that enhance rather than distract from the food. Textured backgrounds add depth, while simple ones let the dish shine. Consider the story you’re telling through your choice of setting. Match backgrounds to the food’s style and intended mood.
Props and accessories
Choose props that support the food’s narrative. Include utensils, linens, and ingredients that make sense with the dish. Scale props appropriately; they should complement, not overshadow, the main subject. Consider seasonal elements to enhance the story.
Post-processing balance
Edit photos to enhance natural colors and textures without making food look artificial. Adjust the white balance to maintain true food colors. Enhance contrast and clarity selectively. Focus on bringing out the dish’s natural appeal while maintaining authenticity.
Team collaboration
Consult with chefs and food stylists to capture each dish’s intended presentation. Communicate clearly about timing and specific requirements. Build a collaborative environment that allows for creative input from all team members.
When seeking exceptional results for your culinary projects, working with a Miami food photographer elevates your imagery to new heights. Their expertise in the local cuisine scene, combined with professional equipment and studio facilities, ensures your food is captured at its absolute best. These photographers understand the unique lighting conditions and styling preferences that resonate with the vibrant Miami dining culture.

